
Use Cloudflare Pages and R2 Storage to Create Free Online Drive
This blog post shows you a way how to create your own online drive using free Cloudflare services, such as domain, pages and R2 storage service.
The post is based on Github project, FlareDrive, https://github.com/longern/FlareDrive.
Github Project : FlareDrive
Cloudflare R2 storage manager with Pages and Workers. Free 10 GB storage. Free serverless backend with a limit of 100,000 invocation requests per day. More about pricing
Since it is only 10GB, it will be a good choice to create your own photo / image /screenshot hosting site and sharing the link to post online. The speed will be super fast since it is on Cloudflare's CDN.
The project's main features: (More are still under development)
- Upload large files
- Create folders
- Search files
- Image/video/PDF thumbnails
- WebDAV endpoint
- Drag and drop upload
Cloudflare Pages Limitation:
- Requests to your Pages Functions count towards your quota for the Workers Free plan.
- 1 build at a time
- 500 builds per month
- 100 custom domains per project
- Integrated web analytics
- Unlimited free admin seats
- Unlimited sites
- Unlimited requests
- Unlimited bandwidth
- Further limits:
-
https://www.cloudflare.com/en-ca/plans/developer-platform/
-
https://developers.cloudflare.com/pages/functions/pricing/
Cloudflare Workers Limitation:
- 100,000 Requests per day; 1000 requests/min
- No Charge for Duration
- 10 Milliseconds of CPU time per invocation
- Further limits can be found from https://developers.cloudflare.com/workers/platform/limits/#worker-limits
Cloudflare R2 Limitation:
- Storage: 10 GB/month
- Class A operations (mutate state): 1,000,000 / month
- Class B operations (read state): 10,000,000 / month
- Egress (data transfer to Internet) Free (Egressing directly from R2, including via the Workers API, S3 API, and r2.dev domains does not incur data transfer (egress) charges and is free.)
- Further limits can be found from https://developers.cloudflare.com/r2/platform/limits/
Steps
- Create a Github account
- Create a Cloudflare account
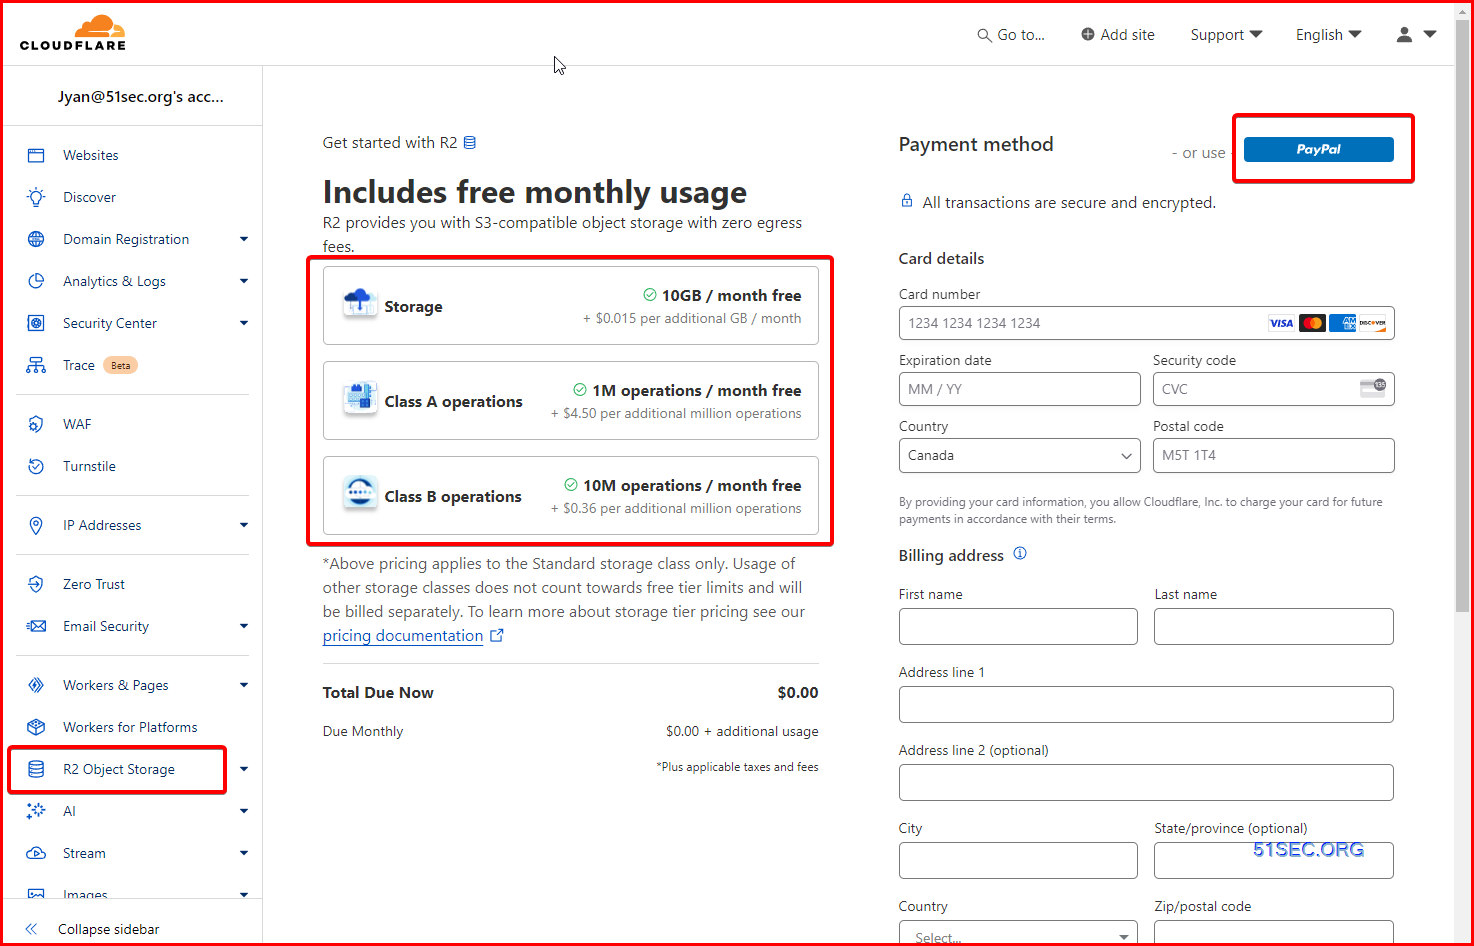
- Add your payment method. Paypal supported.
- Activate your R2 service
1 Log into your Gtihub Account. Fork this project:
https://github.com/longern/FlareDrive
Name it as FlareDrive or something else.
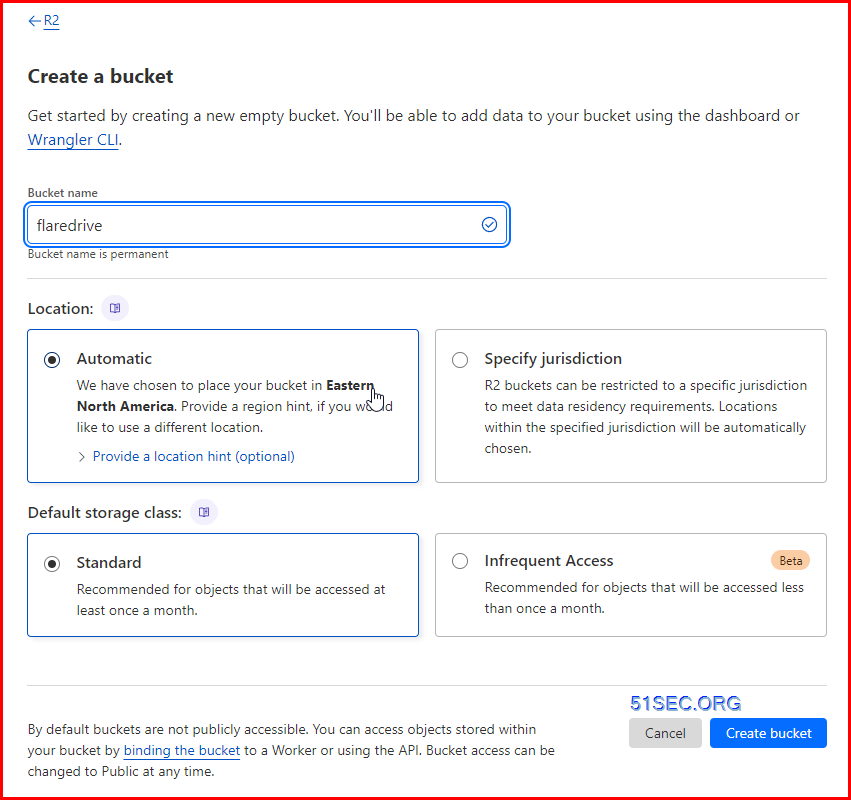
2 Log into Cloudflare and create a R2 bucket
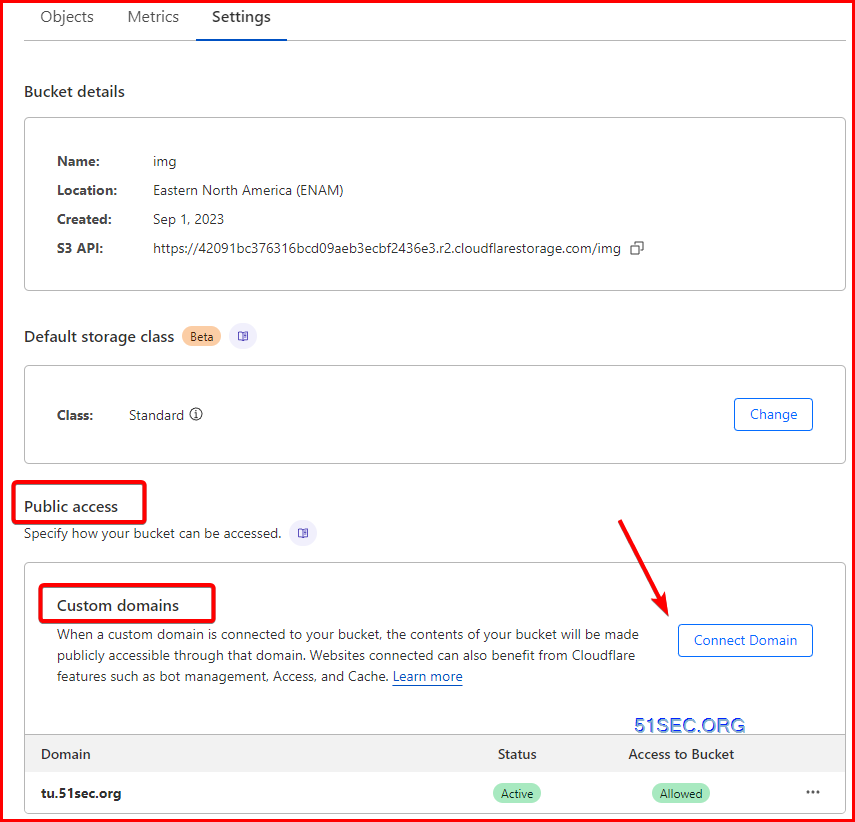
Make sure there is public access to this R2 bucket, which is to create a custom domain for it.
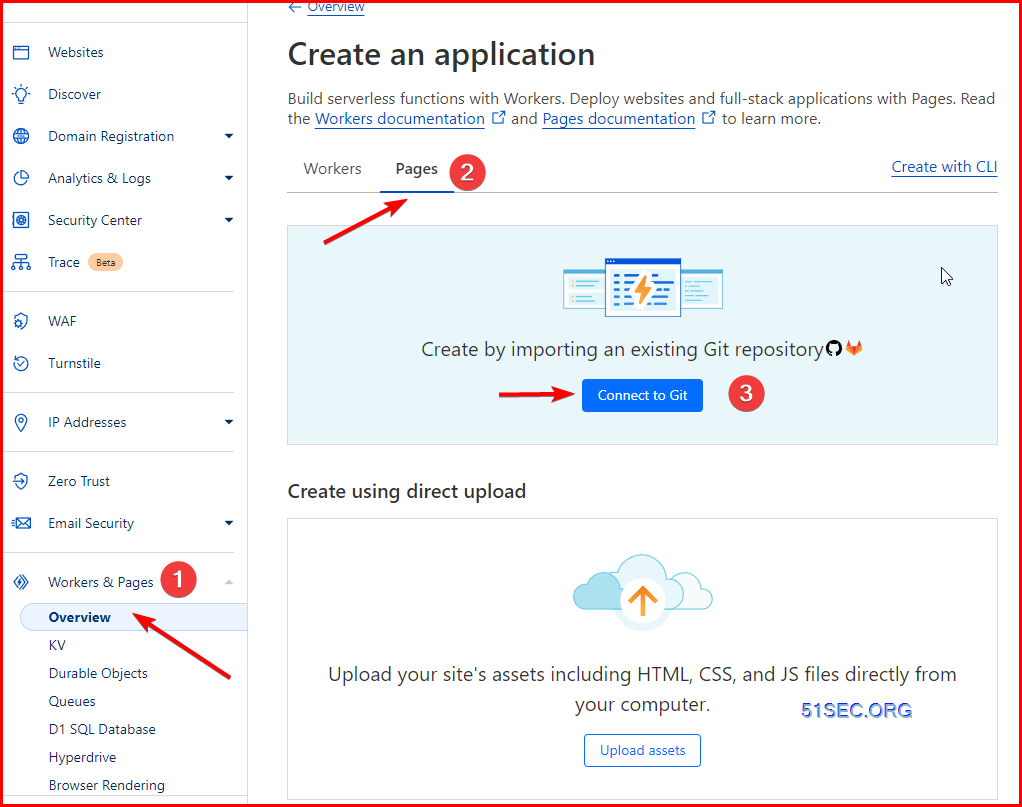
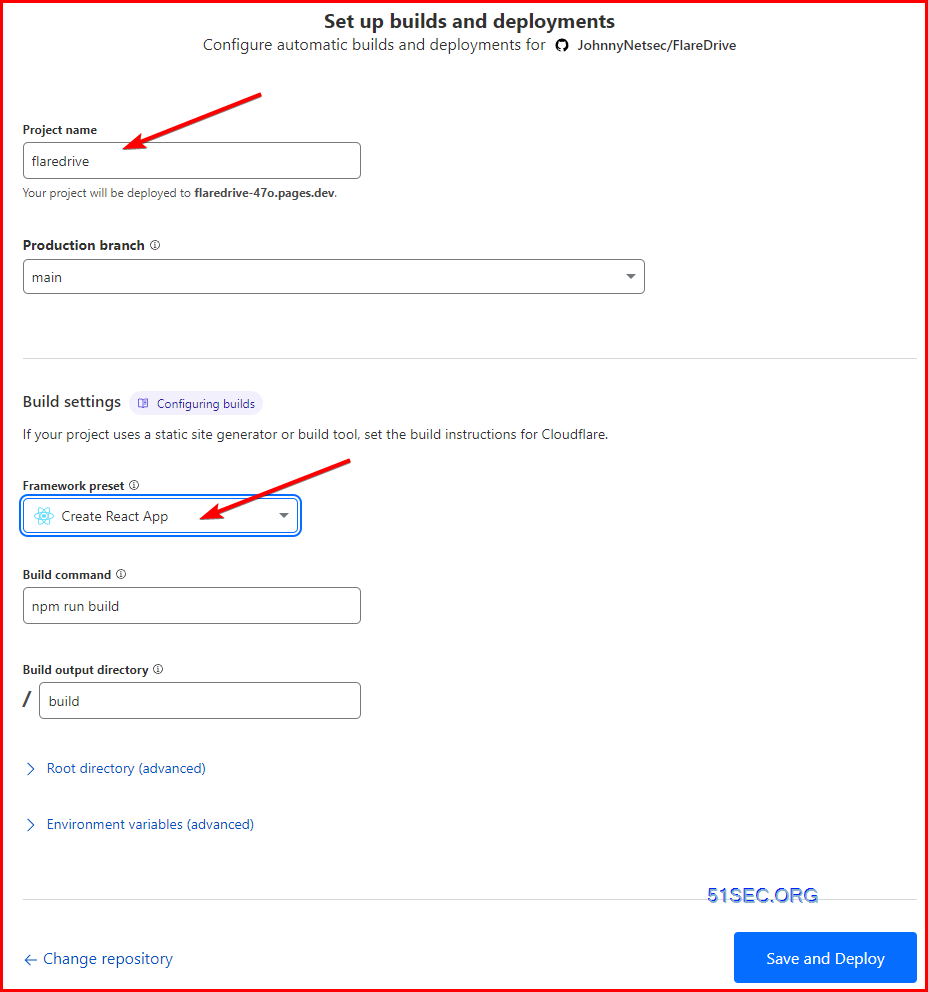
3 Create a new Cloudflare page and connect to Git
4 Deploy a site from your github account's FlareDrive repository.
Your Github account's FlareDrive repository is the one we created in step 1.
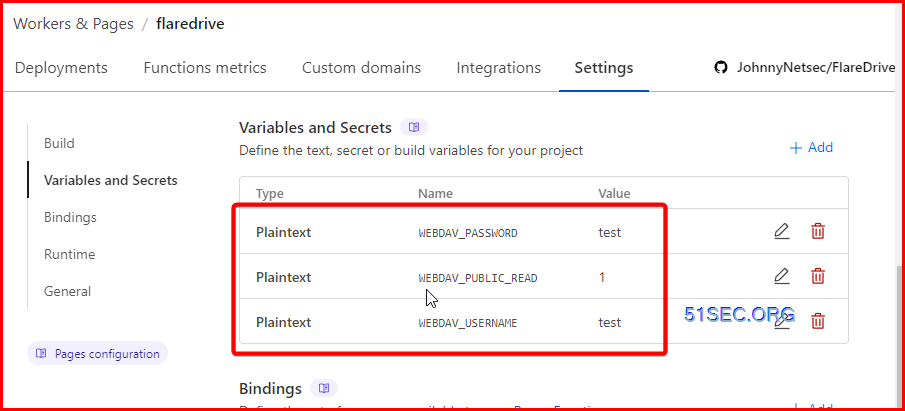
5 Set up Admin Username and Password
From page's setting, add three vaiables:
WEBDAV_PASSWORD :
WEBDAV_USERNAME : It will be used to create folder and upload files
WEBDAV_PUBLIC_READ : If the vaule set to 1, that means it will allow public to read.
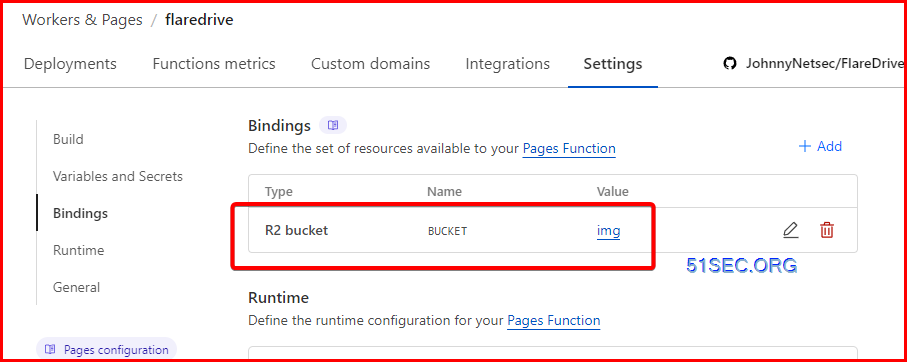
6 Create R2 bucket binding to this page.
7 Redeploy again
From view details of your page, you can click Retry deployment from the dropdown menu of Manage deployment.

8 Set up a custom domain for your page

Usage
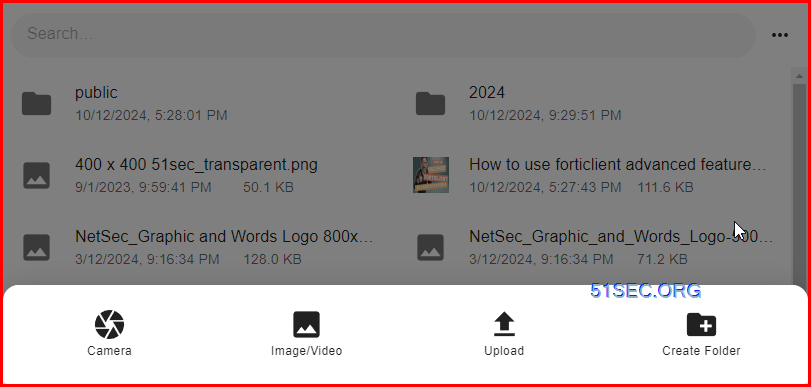
A simple page:
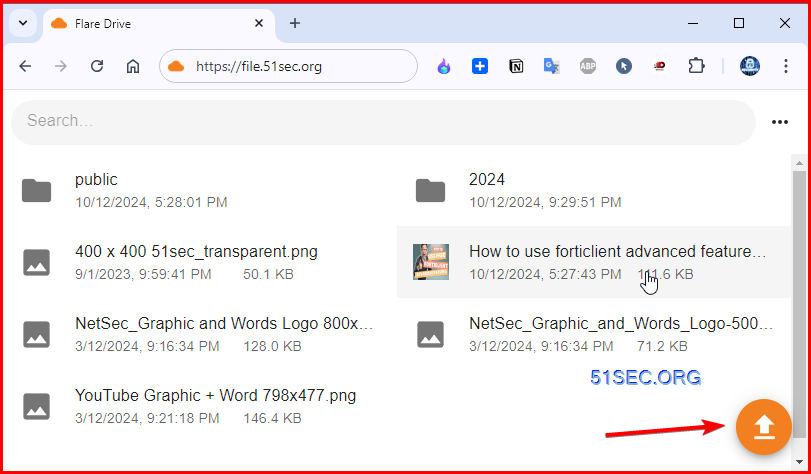
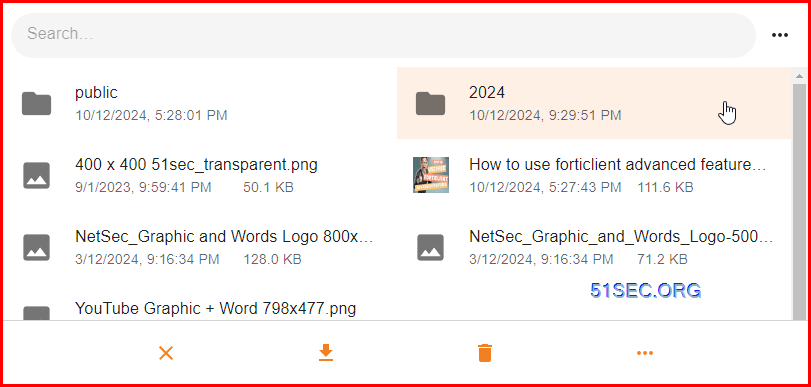
Right Click the file to take some actions:
Videos
References
- 用 cloudflare 的 workers 与 R2 做了一个在线 Drive, GITHUB repository.
- 利用Cloudflare R2 + Workers搭建在线网盘
- FlareDrive
共有 0 条评论