
[5 Mins Docker] Deploy Free Drupal CMS System
Drupal is a powerful CMS that is suitable for a variety of different website projects, from small personal blogs to large enterprise-level portals. Its learning curve may be relatively steep, but once you are familiar with how it works, users will be able to take full advantage of its functionality and flexibility to accomplish tasks with less effort. In this blog post I will introduce a way to use Docker to quickly deploy Drupal and also some other ways to deploy it in the Internet for free.
What is Dupal
Drupal is a free and open-source web content management system written in PHP and distributed under the GNU General Public License.
Docker Deployment -
1 make sure you have docker service pre-installed on your VPS
The following example is using https://labs.play-with-docker.com/ to show all the commands you will needed.
2 install MySQL DB
Before deploying Drupal with Docker, you need to install a database. You can choose MySQL as the database. If you have already installed MySQL locally, you can skip this step. The following command uses Docker to start a MySQL database.
docker run --network host -e MYSQL_ROOT_PASSWORD=Password1234! / -v /etc/mysql/data:/var/lib/mysql / -v /etc/mysql/conf.d:/etc/mysql/conf.d / --name mysql / -d mysql:latest
3 install Drupal docker
After the database is deployed and started, deploy Drupal and execute the following command to run the container directly. In order to facilitate database connection, specify the host network:
docker run --network host --name my-drupal -d drupal:latest
4 Using browser to access your Drupal site
After waiting for Docker to start, type docker ps to see the running Drupal container and the MySQL container :

After the installation is running, access port 80 in the browser and you will see the Drupal installation interface. Drupal has been successfully deployed, installed and started. Next, we will continue to install the ngrok tool, complete remote access, and then configure Drupal.
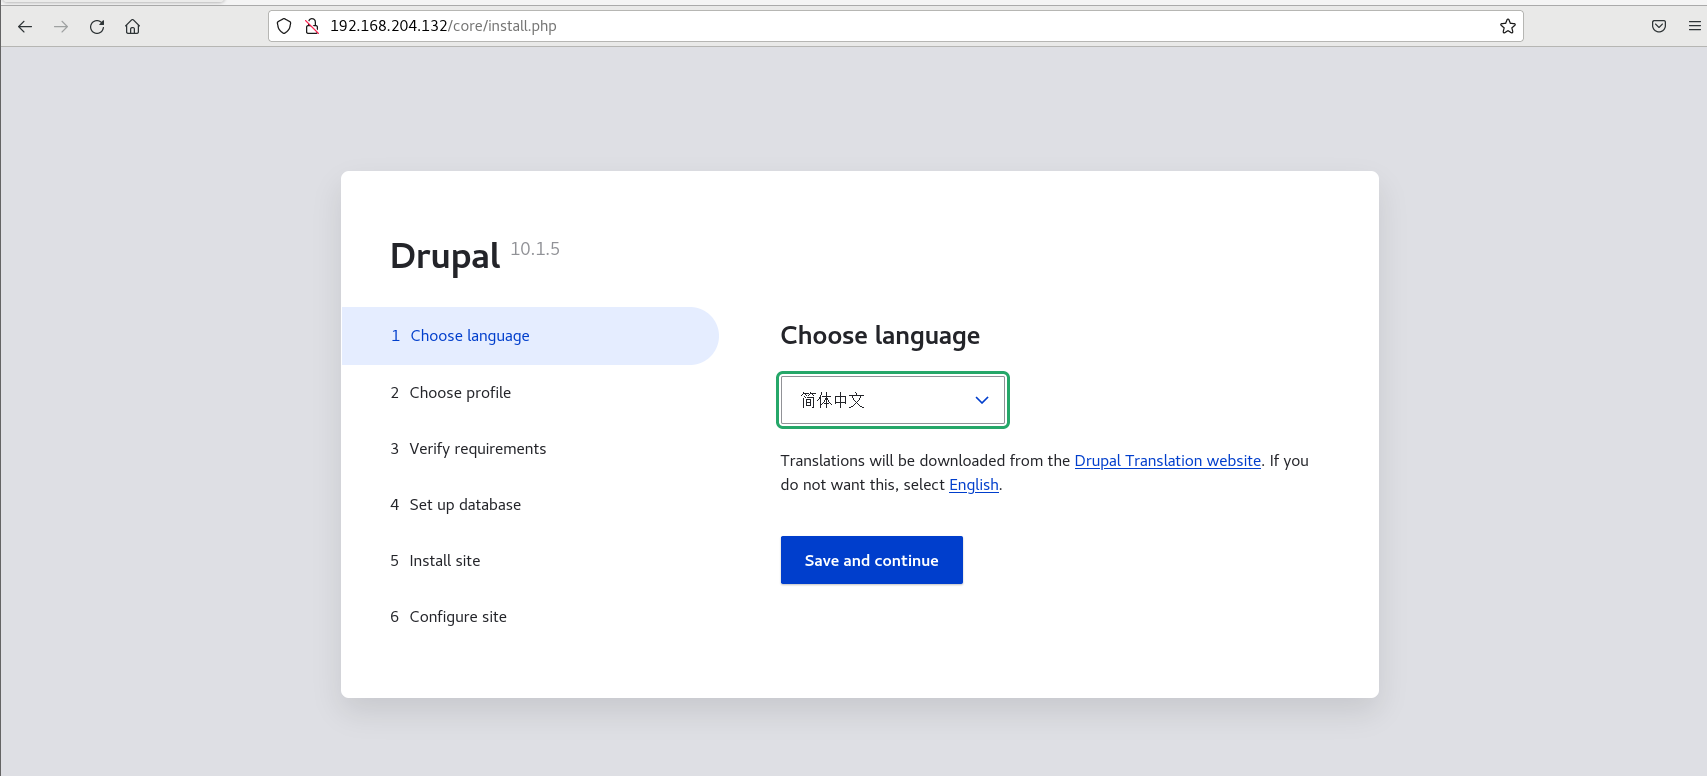

Next, in the database settings, select MySQL database as the database type, then enter the database name (can be customized), then fill in the database username, default: root, then fill in the database password, then open the advanced options, fill in the Linux device LAN IP address for the host parameter (indicates connection to the local database). After filling in, click the button at the bottom保存并继续
Then wait for the installation to complete
After the installation is complete, we can successfully see the Drupal interface and use ngrok's public domain name. You don't need to buy a cloud server yourself to publish it to the public network for access. For subsequent Drupal gameplay, you can refer to the official documentation for learning!
Self Hosted Docker Installation Pre-requirements
Free resources you might need to complete this docker project:
- Server: Oracle Free VPS, Azure Free VPS, Google Cloud Free VPS, and others
- Create a Free Tier Windows/Linux Azure VPS VM
- [Free VPS] GCP (Google Cloud Platform) Tips and Tricks (Free 16G RAM, 4 vCPU VPS)
- System: Cloud Vendor Ubuntu, Debian, or DD an original version
- SWAP size increase: wget https://raw.githubusercontent.com/51sec/swap/main/swap.sh && bash swap.sh
- Enable Password ssh login
- Enable BBR
- systemctl restart docker
- Domain: (Optional) EU.ORG to get a free one, free Cloudflare account to manage your domain
- Confirm port has not been used (you might need to install lsof using command : apt install lsof):
- lsof -i:8088
Pre-installed services:
- Docker,
- apt update
- apt install docker.io
- apt install docker-compose
- apt upgrade docker.io
- mkdir /root/data/docker_data/<docker_name>
- Docker-Compose (Using Ubuntu OS for the commands)
- Docker-compose down
- Optional command : use following command to backup your Docker data. You might need to change your folder name based on your docker configuraiton
- cp -r /root/data/docker_data/<docker_name> /root/data/docker_data_backup/<docker_name>
- docker-compose pull
- docker-compose up -d
- docker image prune
- Portainer (Optional)
- docker volume create portainer_data
- docker run -d -p 9000:9000 --name portainer --restart always -v /var/run/docker.sock:/var/run/docker.sock -v portainer_data:/data portainer/portainer-ce:latest
- Install some applications: apt install wget curl sudo vim git (Optional)
- aapanel with Nginx (Optional)
- Nginx Proxy Manager (Optional)
- Install screen (Optional)
- Install screen (Depends on the Linux Distribution if it came pre installed or not) : yum install screen
- Initiate a Screen : screen or screen -S <screen name> <command to execute>
- Detach from the screen : "CTRL+A,D" not "CTRL+A+D"
- List all the screen currently working : screen -ls
- Reattach to a screen : screen -r <session number> or screen -r <screen name>
- Kill specific screen: screen -X -S <screen name> quit
- Kill all screens : pkill screen
Monitoring Usage, especially for disk usage
- Docker stats
- ncdu
- apt install ncdu
Remove Docker and Related folders
- docker stop <Docker Name> # stop the docker but not remove anything.
- docker rm -f <Docker Name> # remove speficic container, but will not delete mapped volumes
- rm -rf /root/data/docker_data/<Docker Mapped Volumns> # remove all mapped volumes
Restrick Journal Log File Size:
- journalctl --vacuum-size=100M
- Limit it to 25M:
nano /etc/systemd/journald.conf
SystemMaxUse=25M
systemctl restart systemd-journald.service
sudo bash -c 'echo "SystemMaxUse=100M" >> /etc/systemd/journald.conf' sudo systemctl restart systemd-journaldEnable IPv6 and Limit Log File Size (Ubuntu)
sudo sh -c 'truncate -s 0 /var/lib/docker/containers/*/*-json.log'
cat > /etc/docker/daemon.json << EOF { "log-driver": "json-file", "log-opts": { "max-size": "20m", "max-file": "3" }, "ipv6": true, "fixed-cidr-v6": "fd00:dead:beef:c0::/80", "eixperimental":true, "ip6tables":true } EOFIf there is any error, or IPv6 part might not work in the platform you might want to change it to list:
cat <<EOF > /etc/docker/daemon.json { "live-restore": true, "storage-driver": "overlay2", "log-opts": { "max-size": "10m" } } EOF
systemctl restart dockerLimit number of log files:
cat /etc/logrotate.d/rsyslog /var/log/syslog /var/log/mail.info /var/log/mail.warn /var/log/mail.err /var/log/mail.log /var/log/daemon.log /var/log/kern.log /var/log/auth.log /var/log/user.log /var/log/lpr.log /var/log/cron.log /var/log/debug /var/log/messages { rotate 4 weekly missingok notifempty compress delaycompress sharedscripts postrotate /usr/lib/rsyslog/rsyslog-rotate endscript } You can change 4 to some other value, such as 1, so that only one file is stored.
Deploy it through Free Web Hosting Service
Videos
References
版权声明:
作者:congcong
链接:https://www.techfm.club/p/152228.html
来源:TechFM
文章版权归作者所有,未经允许请勿转载。
共有 0 条评论